The $20 Hack That Makes IKEA Furniture Look Like It Cost $2000
I’m about to let you in on my favorite secret weapon for transforming IKEA furniture: peel and stick materials. We’re talking wallpaper, overlays, 3D panels – basically anything that can stick to a surface and completely change its personality. This might be the most affordable way to get maximum impact, and I’m honestly a little obsessed with what you can achieve.
The best part? You don’t need any special skills, tools, or permanent commitment. If you change your mind in a few years, most of these materials peel right off without damaging the underlying surface. It’s like giving your furniture a completely reversible makeover.
Why Peel and Stick is a Game-Changer
Let me tell you why I’m so excited about this approach. Traditional furniture makeovers often involve sanding, priming, painting – lots of time, mess, and commitment. But peel and stick materials let you achieve dramatic transformations in an afternoon.
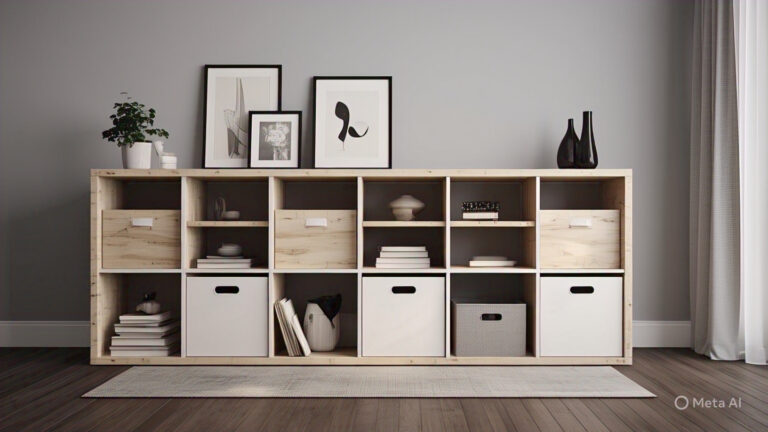
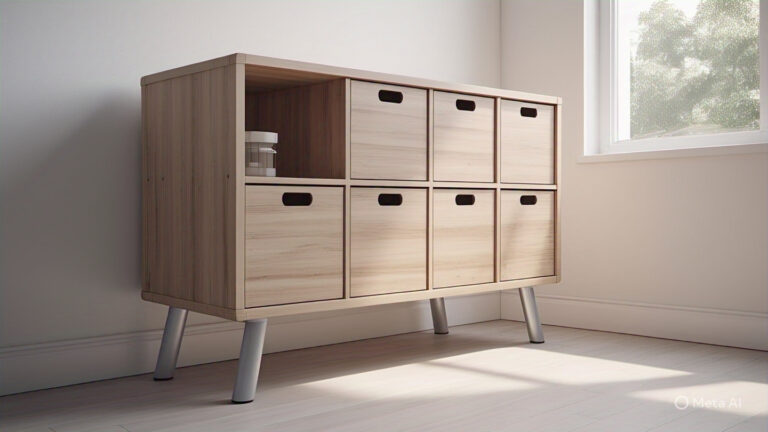
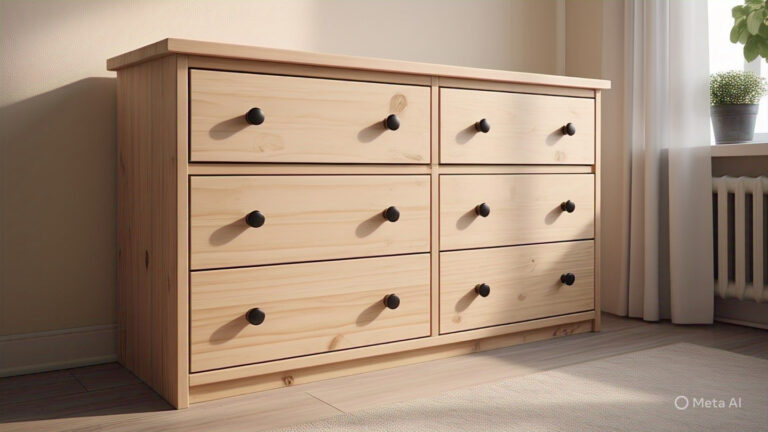
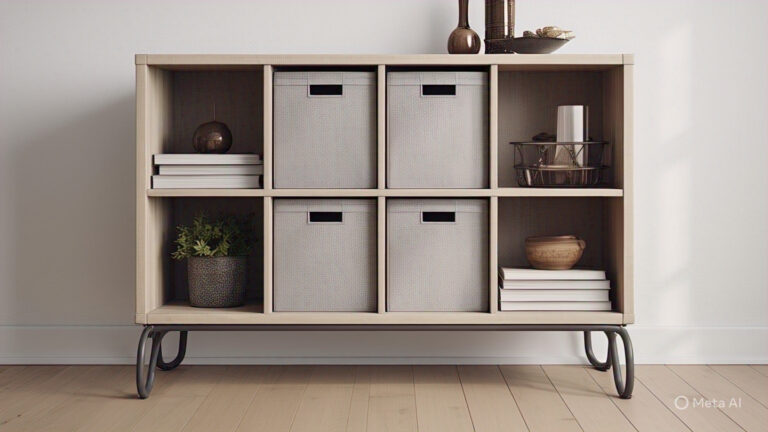
I’ve turned basic white Kallax units into what looks like expensive built-in cabinetry, transformed plain Hemnes dressers into statement pieces, and even made IKEA kitchen fronts look like custom millwork. The key is choosing the right materials and applying them thoughtfully.
The Material Universe: What’s Actually Available
The world of peel and stick materials has exploded in recent years, and the quality has gotten so much better. Here’s what I’ve been experimenting with:
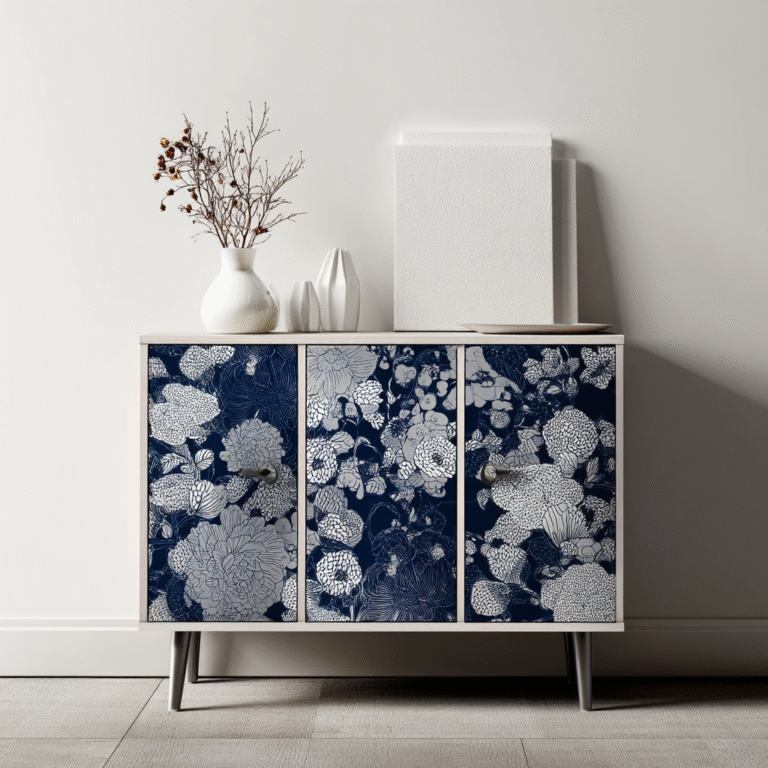
Peel and stick wallpaper comes in every pattern and texture you can imagine. I’m talking everything from realistic wood grain to marble patterns, geometric designs to floral prints. The quality varies wildly, so I always invest in the better stuff – it looks more convincing and tends to stick better long-term.
Decorative overlays are like furniture jewelry. These are pre-cut pieces designed to add architectural details to flat surfaces. Think molding effects, panel designs, or geometric patterns that transform a plain surface into something that looks custom-built.
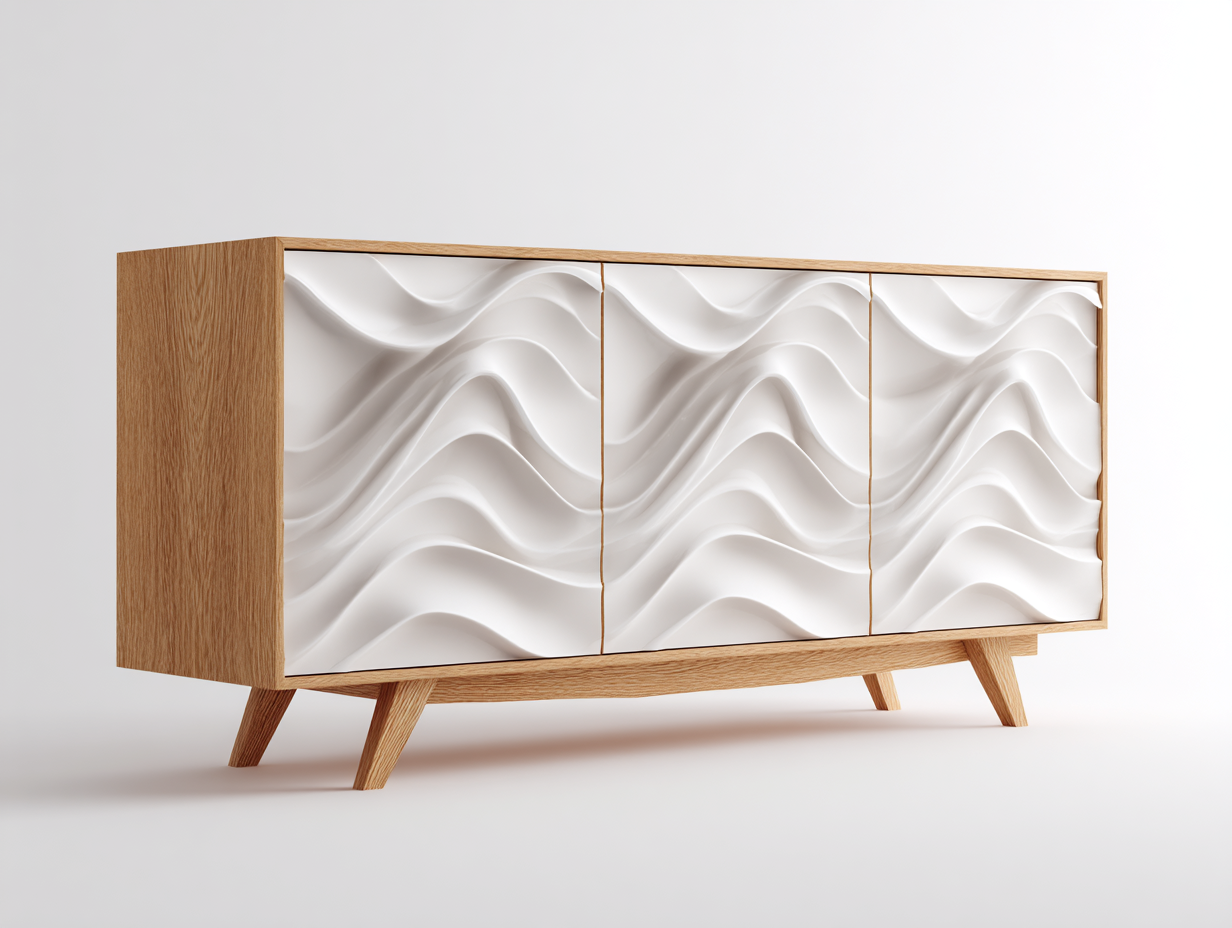
3D panels and tiles are where things get really exciting. These add actual texture and dimension to your furniture. I’ve used everything from faux brick panels to create industrial vibes, to quilted leather-look tiles for a luxe feel, to geometric wood panels for modern sophistication.
Contact paper might sound basic, but the new versions are incredible. High-quality contact paper can mimic everything from brushed brass to concrete to exotic wood species. It’s often more affordable than wallpaper and just as effective.
Choosing Materials That Actually Look Convincing
This is where I see people make their biggest mistakes. Not all peel and stick materials are created equal, and some look obviously fake from across the room. Here’s what I look for:
Texture matters more than you think. The best faux wood grains have subtle texture that catches light like real wood. Same with marble patterns – the good ones have depth and variation that mimics real stone.
Scale is crucial. Those tiny brick patterns might look cute online, but they often look toy-like in person. I prefer patterns that are scaled appropriately for furniture rather than walls.
Color variation makes all the difference. Real materials have natural variation – wood has grain differences, marble has veining, even painted surfaces have subtle color shifts. The materials that look most convincing incorporate this kind of natural variation.
Installation Secrets That Make All the Difference
I’ve learned some tricks over the years that make the difference between a professional-looking result and an obvious DIY job:
Surface prep is everything. Clean surfaces with degreasing cleaner and let them dry completely. Any dust, grease, or residue will prevent proper adhesion. For glossy surfaces, I sometimes lightly sand to give the adhesive something to grip.
Temperature matters. Most adhesives work best at room temperature. If your materials have been stored in a cold garage, let them warm up before application. Cold adhesive doesn’t stick as well.
Work in sections, not all at once. I remove backing paper gradually, smoothing as I go. This prevents air bubbles and gives you more control over placement.
Use the right tools. A good smoothing tool (even a credit card wrapped in cloth) makes a huge difference in getting a professional finish. I also keep a craft knife handy for precise trimming.
Pattern Placement: The Professional Secret
Here’s what separates amateur applications from professional-looking results: thoughtful pattern placement. With wood grain, I always think about how real wood would be oriented on that piece. With geometric patterns, I plan the layout so any cuts happen in the least visible spots.
For something like a Kallax unit, I treat each surface as its own element. The top might have wood grain running horizontally, while the sides run vertically – just like real furniture construction.
Transforming Kallax Inserts: My Favorite Trick
This is where things get really fun. Those basic IKEA inserts and drawer fronts? They’re perfect canvases for peel and stick transformations. I’ve created what looks like expensive custom cabinetry by adding panels to simple drawer fronts.
Geometric overlays on drawer fronts can create the look of detailed millwork. I love adding rectangular panels that mimic traditional raised-panel cabinet doors. The 3D effect is subtle but makes such a difference.
Textured panels can add incredible visual interest. I’ve used everything from woven grass-cloth textures to faux leather panels. The key is choosing textures that complement your overall room design.
Mixed materials create really sophisticated looks. Maybe the main body of your Kallax gets a wood grain treatment while the insert fronts get a complementary solid color or subtle pattern.
Style Combinations That Actually Work
Over the years, I’ve discovered some combinations that consistently look amazing:
Warm wood tones with brass accents create that expensive, sophisticated look. I’ll do the main surfaces in a rich walnut-look material and add brass-look contact paper to accent areas or hardware.
Marble patterns with black accents give you that luxe, contemporary vibe. This works especially well on bathroom storage pieces or bedroom furniture.
Geometric patterns in monochromatic colors create visual interest without being overwhelming. Think white and gray geometric tiles on a white Kallax – subtle but sophisticated.
Problem-Solving Common Issues
I’ve made plenty of mistakes over the years, so let me save you some frustration:
Air bubbles are the enemy, but they’re fixable. Use a pin to create a tiny hole and smooth the air out. For stubborn bubbles, a hair dryer can warm the adhesive and make it more workable.
Edges that won’t stay down usually mean you need more pressure and time. I use a bone folder (or the back of a spoon) to really press edges down, then give them time to set.
Pattern misalignment happens, but it’s often less noticeable than you think. If you’re off by a small amount, don’t restart – just adjust your layout for the remaining pieces.
Advanced Techniques for Next-Level Results
Once you’re comfortable with basic application, you can start thinking about more creative approaches:
Layering different materials can create incredible depth. Maybe a base of wood grain with geometric overlays on top, or marble base with metallic accent strips.
Creating custom patterns by cutting and combining different materials. I’ve made some beautiful geometric designs by cutting strips of different materials and creating my own patterns.
Adding dimension with multiple layers of 3D panels. This takes more planning but can create results that look like expensive architectural details.
My Current Obsessions
Right now, I’m completely obsessed with faux fluted wood panels. They add such incredible texture and sophistication to flat surfaces. I just finished a Hemnes dresser where I added vertical fluted panels to the drawer fronts, and everyone assumes it’s a custom piece.
I’m also loving the new concrete-look materials. They’re perfect for creating that industrial, loft-like aesthetic that’s so popular right now.
Maintenance and Longevity Tips
Most quality peel and stick materials are surprisingly durable, but here’s how to keep them looking great:
Avoid harsh cleaners – mild soap and water are usually sufficient. Strong chemicals can damage the surface or weaken the adhesive.
Watch for lifting edges and address them quickly. A little heat from a hair dryer and some pressure usually fixes minor lifting.
Plan for replacement – even the best materials eventually show wear. The good news is that replacement is usually easy and affordable.
The Best Return on Investment
Honestly, peel and stick upgrades might give you the best bang for your buck of any furniture hack. For $20-50 in materials, you can completely transform a piece that suddenly looks like it cost hundreds more. The impact is immediate and dramatic.
Ready to Transform Your Furniture?
Peel and stick materials have completely changed how I think about furniture makeovers. They’re affordable, reversible, and can achieve results that look incredibly professional. Whether you want to add texture, pattern, or just completely change the color and finish of a piece, there’s probably a peel and stick solution that can get you there.
The key is choosing quality materials, taking your time with installation, and thinking about the overall design rather than just slapping something on and hoping for the best.
Ready to explore the world of peel and stick transformations? Browse our curated collection of wallpapers, overlays, and 3D panels, plus check out our step-by-step installation guides and inspiration gallery. From subtle texture additions to dramatic makeovers, we’ve got everything you need to create the custom look you’ve been dreaming of!
